Lazy Day Paninis

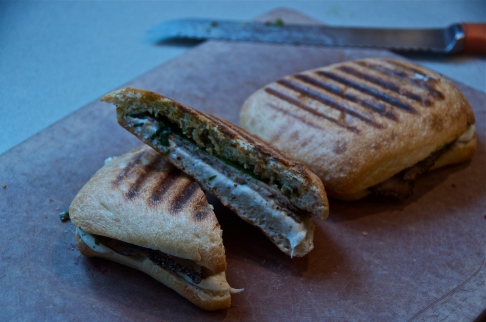
As a “sandwich artist” I am obligated to say that I love sandwiches. I have to be honest with you though, I can’t say that I love all sandwiches, but put any sandwich in a panini press and I’ll eat it. There is just something fantastic about biting into a crunchy toasted piece of bread and tasting all of the ingredients and flavors that have melded into each other during the cooking process. Paninis are one of those foods that can be perfect on a summer day or on a snowy winter afternoon. They’re perfect in any weather! I always like to take advantage of opportunities when I can experiment with food for my future food truck (it’s going to happen…really!) Take a look at these paninis inspired by my love for basil and cheese.


Perfect Panini  

Image


Ingredients for one panini:

1 ciabatta roll

mozzarella cheese

Cracked black peper cold cut turkey (or any kind you like

Basil

2 tablespoons pesto

Directions

Cut ciabatta roll in half and shell out some of the excess bread, then let the layering begin! Start with the mozzarella cheese then the turkey. This isn’t an exact science so put however much you want. Next place the basil on top of the turkey. The final touch is the pesto. Jarred pesto is God’s gift to sandwich makers! Spread the pesto on the top roll. Unlike the rest of the ingredients it is important to use just a touch of pesto. If you use too much the sandwich will be very much overpowered with garlic and pine nuts. Next put the sandwich in your panini press and cook until the cheese melts and there are good dark grill marks. Enjoy!


The Best Way to Have Breakfast

Surely many of you out there think, like me, that breakfast comes way too early in the morning to enjoy. The problem is that breakfast food always looks so yummy! The solution: Breakfast for dinner! That’s right, I am a HUGE breakfast for dinner fan. I’ll admit though I am a recent convert. I made breakfast for dinner for a week straight when I got my first waffle iron last year for Christmas. I think my family got a little sick of waffles then leftover waffles and then some more waffles, but I enjoyed every tasty morsel of deliciousness! I have now moved beyond waffles, well not beyond because I still love a good waffle now and then, but there are so many other breakfast type food to experiment that I can’t get stuck on on.

Here’s the menu for last night’s breakfast (I will apologize for the long post but there are just too many great recipes to share!):

The number one thing that should always be on a breakfast for dinner menu is…wait for it…BACON! I think bacon is best baked. To do this place a cookie cooling rack over a large cookie sheet. Lie the bacon on top of the cooling rack, cover with foil and place in a 350 degree oven. Check the bacon every 5 minutes until it is baked to perfection!

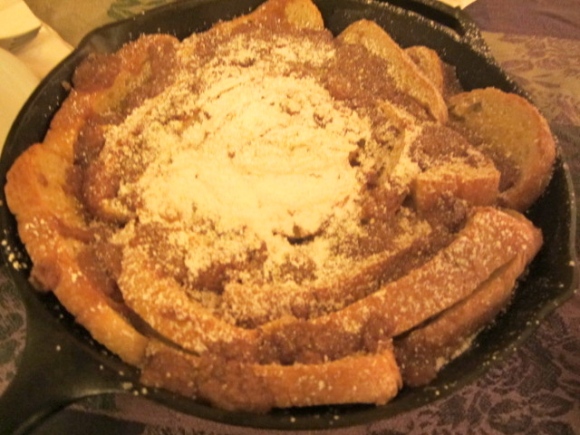
Joy The Baker’s Coffeecake French Toast
Image

Ingredients:

1 Tablespoon unsalted butter
10 slices stale white sandwich bread 
4 large eggs
1 cup whole milk (want to make it healthier? I used skim and the recipe was still yummy!)
1/2 cup buttermilk
1/2 cup granulated sugar
1 Tablespoon pure vanilla extract
1/2 cup all purpose flour
1/4 cup packed light brown sugar
1 tsp ground cinnamon
1/4 tsp salt
1/4 cup (1/2 stick) unsalted butter, cold, cut into cubes
powdered sugar for garnish
 
Melt butter in an 8-inch cast-iron (or any oven friendly) skillet.  Coat the entire pan, including the sides of the skillet with melted butter.  Remove from heat.  
 
Slice the bread diagonally. Fan and stack the bread atop the melted butter, cut side down, point side up.  In a medium-sized bowl, whisk together eggs, whole milk, buttermilk, sugar and vanilla.  Once well incorporated, pour the custard over the bread slices into the skillet.  Gently press the bread slices into the custard to coat; bread slices will not completely submerged in the egg mixture.
 
Cover the skillet with plastic wrap and refrigerate for anywhere from 30 minutes to overnight.  
 
Just before you are read to bake, place a rack in the center of the oven and preheat to 350F.  
 
To make the topping whisk together flour, sugar, cinnamon, and salt.  Use your fingers to work the butter into the dry ingredients until the butter is in pea-sized lumps.  Rmove the soaked bread from the refrigerator and sprinkle with crumb topping.
 
Bake for 20 to 25 minutes, until the custard has set and the bread tops are toasted.  Allow to cool for 15 minutes.  Sift powdered sugar over the top of the toast and scoop into bowls to serve.
 
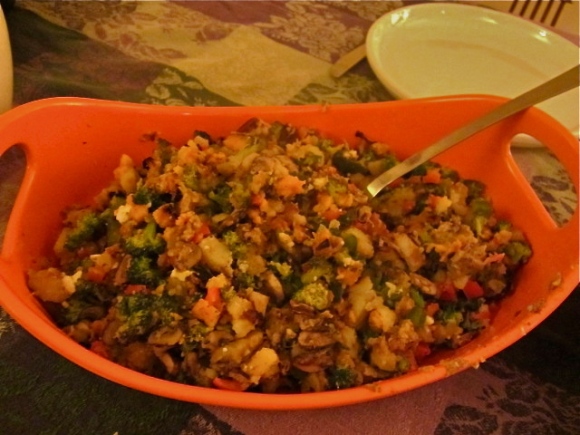
Homefries on Demand
Image
Ingredients:
2 tablespoons extra virgin olive oil
3 russet potatoes, peeled and cut into bite sized pieces
2 sweet potatoes, peeled and cut into bite sized pieces
3 cloves garlic,  minced
1/2 yellow onion, minced
1 jalapeno, seeded and minced 
3 cups broccoli, cut off of the stems into little florets   
2 cups mushrooms, sliced
1 medium red pepper (or whatever is least expensive or whatever you have in the fridge)
1 teaspoon nutmeg
1 teaspoon chili powder
1 teaspoon tarragon
1 teaspoon thyme
Salt and Pepper to taste
1/4 gorgonzola cheese (or any other type of blue cheese)
 
Directions:
 
In a large skilled heat olive oil over medium heat and immediately add potatoes. Cover and let sit for 8 minutes. Mix potatoes with a wooden spoon, some should be golden brown and some should be very well done. Add garlic, onion, and jalapeno. Let cook for 3 minutes. Add broccoli,  mushrooms, red pepper. Mix, cover, and let cook for 10 minutes. Add nutmeg, chili powder, tarragon, thyme, salt and pepper. Mix and cover then let the homes fries sit on a low heat while you finish cooking the rest of the meal. Occasionally mix the homefries. The longer they sit the better they taste. About 5 minutes before serving add gorgonzola and mix well. 
 
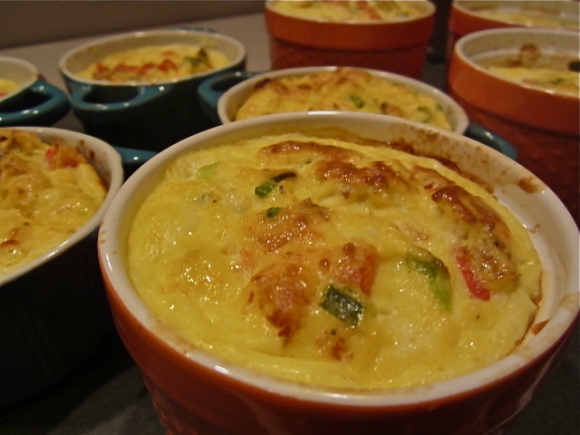
Egg Souffles
(aka another thing to make in my new ramekins!)
Image
 
 
Ingredients (makes 4):
 
8 large eggs
1/3 cup reduced-fat sour cream
Salt and Pepper to taste
1 red bell pepper, diced
1/4 cup sliced scallions
1 tbsp extra virgin olive oil
 
Directions:
 
Heat oven to 350°F.

In a large bowl, whisk together eggs, sour cream, salt, and pepper.

In a skillet over medium heat, cook bell peppers and scallions in olive oil for 3 minutes. Add egg and sour cream mixture. Cook 2 minutes or until eggs thicken slightly, stirring often. Divide evenly among 4 (1 cup) ramekins.

Bake 25 minutes or until edges puff up and top is golden. 

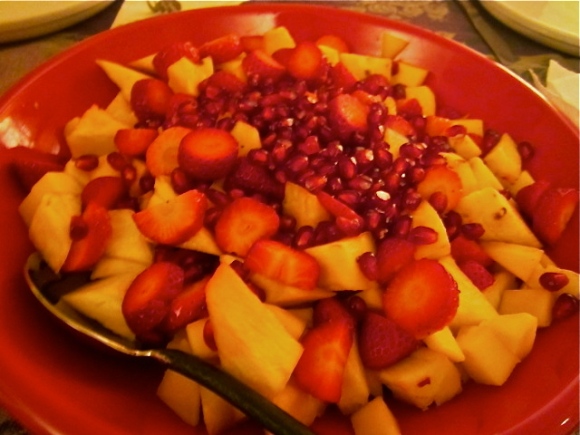
 Mamma C’s Fruit Salad

My mother makes the world’s best salads: veggie and fruit. Give this tasty one a try!
Image


Mix strawberries, mango, and pineapple then sprinkle pomegranate seeds over the top. The salad is even better when topped with a dollop of greek yogurt.


Enjoy this meal at anytime during the day, but I promise it will taste best a dinner!
Chicken Pot Pie with Attitude

I’ll just say it…it’s cold in Maine. When I woke up this morning the thermometer read 2 degrees. What does a cold day call for? COMFORT FOOD! Chicken pot pie style comfort food that is. Like many of you foodies out there, I love to buy new things for my kitchen. I was out shopping and found these adorable orange ramekins on sale for $4.00. How could I say not to that?! They are the perfect portion size for individual pot pies. Now, isn’t that convenient? Please enjoy my easy and healthy Chicken Pot Pie with Attitude!

Chicken Pot Pie with Attitude

_DSC1288

Ingredients:

1 tablespoon olive oil

1 1/2 pounds skinless boneless chicken breast cut into bite size pieces

salt and pepper to taste

3 tablespoons butter

1 small onion, chopped (don’t like onion? don’t worry the pot pie is still yummy without it!)

1 cup celery, chopped

1 fresno pepper, seeded and chopped (this is where the little attitude comes from, so if you don’t like spice just leave the pepper out.)

1/3 cup all purpose flour

1 cup chicken broth

1 1/2 cups skim milk ( you can use any type of milk, but skim provides the texture and flavor without the extra fat)

1 cup frozen peas

1 1/2 carrots, diced

2 tablespoons dried parsley (I used dried because it is left over from my garden but fresh is just as tasty)

1 teaspoon dried tarragon

1/2 teaspoon nutmeg

1 puff pastry sheet

Directions:

Preheat oven to 400 degrees F

In a large sauce pan over medium heat, combine olive oil and chicken. Let chicken cook through (until the middle isn’t pink.) Remove chicken from pan and onto a plate covered with paper towels. The paper towels will absorb some of the fat still coming from the chicken.

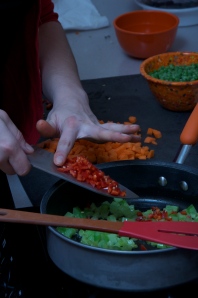
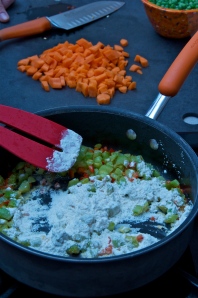
In the same pan, melt butter and add onion, celery, and fresno pepper. Saute for 3 minutes. Stirring occasionally.

_DSC1184

Stir in flour until well incorporated.

_DSC1192

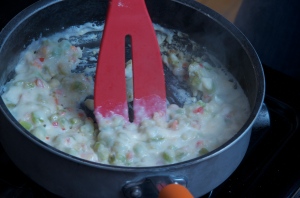
Add chicken broth and milk. Stir constantly until the sauce thickens and boils.

_DSC1201

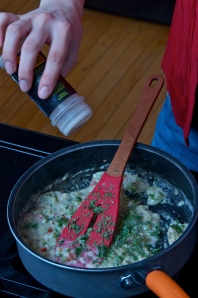
Add chicken, peas, carrots, parsley, tarragon, and nutmeg. Stir to combine.

_DSC1210

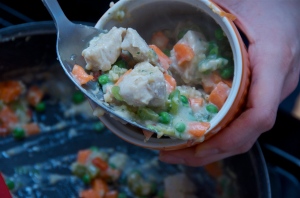
Spoon mixture into ramekins (or a 1 1/2 quart casserole dish.)

_DSC1253

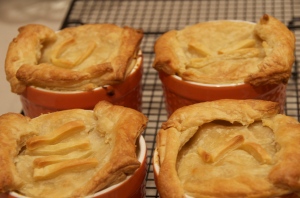
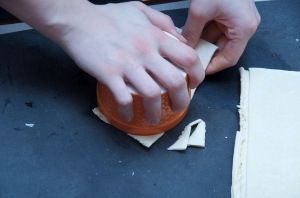
Press ramekins into puff pastry dough to cut out the topping.

_DSC1243

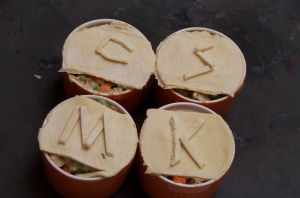
For fun, use the extra puff pastry to cut out the initials of the people you’ll be serving. In this case that would be my family!

_DSC1272

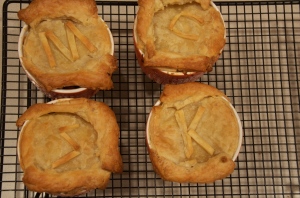
Put ramekins on a cookie sheet and place in the preheated oven for 30 minutes or until the pastry is golden brown and the filling is bubbling on the sides.

_DSC1284

Let cool for 10 minutes then enjoy to your heart’s content!

Ringing in the New Year with some Joy!

Joy the Baker that is! Never heard of her? Well that is a travesty that needs to be fixed.For my last birthday my good friend from Wads Words gave me Joy the Baker’s new cookbook. It was one of the best gifts I have ever received. I mean where else are you going to find a recipes for peanut butter bacon cookies in the same book with a recipe for a classic vanilla cupcake? It’s a cookbook definitely worth taking a look at.

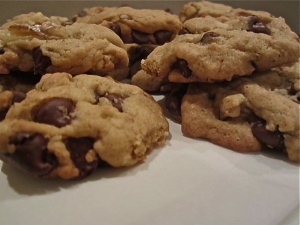
What recipe did we tackle for New Year’s Eve, you ask? We decided to make Joy’s Brown Butter Chocolate Chip Cookies. They were quite possibly the best cookies I have ever tasted!

IMG_0813

Brown Butter Chocolate Chip Cookies (Adapted from Joy the Baker)

Makes 2.5 dozen cookies

Ingredients

1 cup (2 sticks) plus 1 tablespoon unsalted butter softened

1 cup granulated sugar

1 1/2 teaspoons pure vanilla extract

1 teaspoon molasses

1/2 cup packed light brown sugar

1 large egg

1 large egg yolk

2 1/4 cup all-purpose flour

1 tsp salt

1 tsp baking soda

1/2 cup coarsely chopped walnuts

1 cup of bittersweet chocolate chips (but really can you ever have too many chocolate chips? I just say eyeball it. I mean 1 cup…2 cups what’s really the difference when it comes to chocolate?)

Directions:

Preheat the oven to 375 degrees.

Brown 1 stick of butter plus an extra tablespoon then place browned butter in a heat safe bowel. Some of you may be thinking, how do I brown butter? Simply heat the butter in a silver bottomed skillet over medium heat. When the water in the butter begins to evaporate the fat particles with start to brown. The butter is ready when it becomes a nice chestnut color. Be care though, as the butter browns it will begin to pop and spit everywhere.

In the bowel of a stand mixture cream together the remaining butter with the granulated sugar. Cream on medium speed for 3 minutes on medium speed or until it is light and fluffy.

Add the vanilla extract and molasses and beat until incorporated.

Once the browned butter has cooled a little, pour it into the creamed butter mixture. At the same time add the brown sugar. Cream for about 2 minutes until well incorporated. Next, add the egg and egg yolk, and beat for 1 minute.

In another bowel sift together flour, salt, and baking soda.

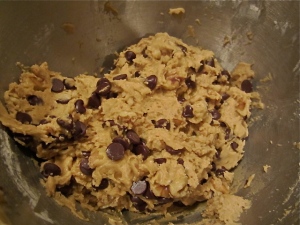
Add the flour mixture all at once to the butter mixture and mix on a low speed until the flour is just incorporated. Remove bowel from stand and fold in walnuts and chocolate chips with a spatula.

Cover the bowl with plastic wrap and let chill in the refrigerator for 30 minutes.

3

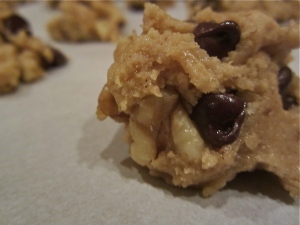
Line baking sheets with parchment paper and place tablespoon balls of dough onto the tray.

4

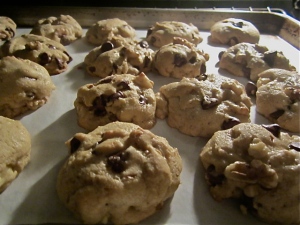
Bake cookies for about 12-14 minutes or until lightly browned on the outside and slightly soft in the middle.

5

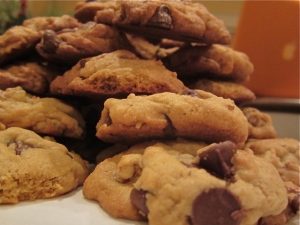
Remove from the oven and allow the cookies to cool on the tray for 5 minutes. Then enjoy the deliciousness!

6

Hello World I’m KT

Welcome to my first blog post! I’m new to this so please hang in there with me. This blog will be dedicated to the wonderfully delicious topics of food and cooking. I started to become interested in cooking when I first discovered Rachael Ray and the Food Network during sixth grade. I started out cooking and baking the basics. As time has gone by though I have learned to experiment and try new things. Some of my experiments have worked (grilled strawberry salad) and some of my experiments have been major disasters (one day, when I’m ready, I will share the chicken tikka disaster of ’07.) I am a college sophomore who owns a horse and works in a soup and sandwich shop so it is safe to say that my cooking funds are rather low. I am never one to back down from a challenge though, so when I moved into my new apartment at the beginning of the school year I decided that I would learn how to cook hearty healthy meals on a budget. What have I discovered so far? Making your own pizza is a lot healthier and a lot less expensive. Sandwiches are tasty and will keep you full for a long periods of time. Chili will will feed you for days…and I mean DAYS. No every day can be a healthy day though because a girl has got to bake, so be prepared for some tasty baked good recipes that will make your mouth water.

I hope you all will enjoy reading about my foodie adventures in the kitchen and on the grill too!

I hope all of you have a happy new year full of great food!